
Photos make posts more interesting. But if there are many photos to accompany a post, or if one is posting a series of photos to describe a place or show a series of events, there should be modifications done to the photos.
What specific modification?
Have the photos resized. How? Resize the photos by reducing the pixels. Instead of just uploading the photos from the camera and posting these in the blog, resize them by utilizing the different software for photos available in the market.
Why the need to do these?
For easier viewing and loading of photos. Not everyone has a fast internet connection and when photos are not resized to a smaller size, it would be painfully slow to have these appear. It looks funny sometimes when the photo even goes beyond the margin where the posts appear. Interest in viewing blogs like these are not sustained.
Even when emailing photos, it is best to have these resized. Ideal size would be anywhere from 500-800 pixels, ideal for viewing purposes.
I use 300 pixels in width for photos in this blog.
Below is a sample of 300 pixels x 400 pixels, resized from the original size of 1200pixels x 1600 pixels.
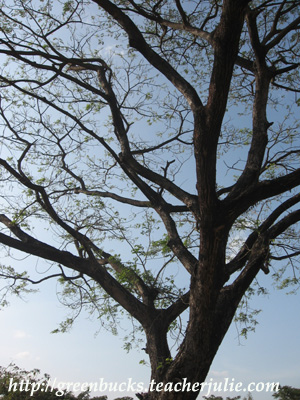
Below is a sample of a 400 pixels x 534 pixels photo.

The second photo looks huge. In my opinion, the first one is better. What do you think?
Pingback: GreenBucks » Blog Archive » Photo Resizing